|
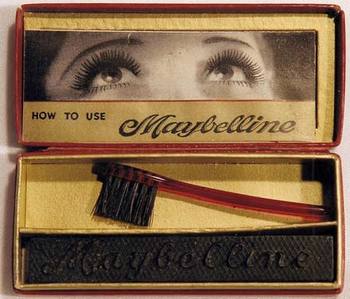
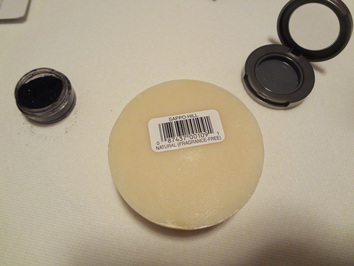
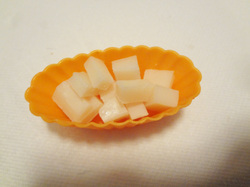
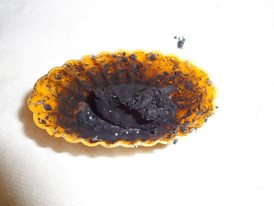
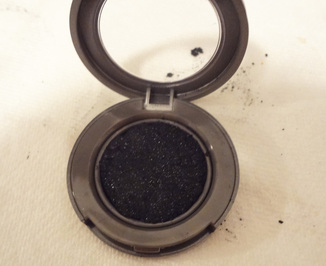
(Note: This post became unexpectedly popular on Pinterest. I must caution you that I originally made this mascara as an experiment and not a cosmetic item I intent wear daily. While none of the ingredient I used should cause any significant problems if they get into eyes, I cannot guarantee that your body will not react to any of the ingredients so use at your own risk. In addition note that soap is not waterproof and can be irritating if it gets into your eyes.) 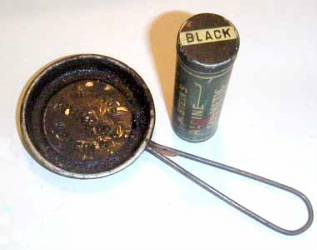 Image credit: Costumes.org Image credit: Costumes.org I remember reading a biography of actress Louise Brooks, it discussed how Vaudeville dancers would use a very primitive form of mascara (left). It is essentially a cylinder of black wax. To use it one must slice some off and melt it in a tiny frying pan over a candle. I recently read an article about cake mascara. It is much easier to use than wax mascara and its popularity lasted for over six decades. I found out that the original Maybelline cake mascara was made from equal parts of soap and pigment, which are very easy to obtain. I was very curious to try cake mascara, so I made my own to experiment with. You will need only four items to make cake mascara. Soap, pigment, a container, and a mascara wand. Get the most unscented and natural soap as possible to avoid irritation (this is VERY important). I got mine from Whole Foods for $3. You can use pigment of any color you want, I just used the only black one I have. I normally wouldn't wear mascara with sparkles, but this is just an experiment and I didn't want to waste carbon black pigments that I care about. For container I used a free sample compact I got from TKB Trading. You can use contact case that you don't use, empty eyeshadow compact, etc. Shallow containers will work better. Whatever you use, just make sure you wash it very clean and sanitize it with alcohol first. In actual vintage cake mascara they include a tiny brush for applying, but I found modern mascara wand much easier to use. You can either wash clean a mascara wand from an old tube of mascara or grab some from aisle endcaps at Sephora. First thing you will need to do is melt the soap. Remember to keep the ratio of soap and pigment to 1:1, so you don't really need a lot of soap. Natural handmade soap should be very easy to cut in room temperature. Cut it into small pieces for easy melting. I like to use silicone baking cups when melting things because they are easy to clean. Add a few drops of olive oil for a more smooth texture. Heat soap in the microwave in an increment of 30 seconds. It may or may not liquify, but it's fine as long as it softens enough to incorporate the pigment. Have the pigment ready while the soap is melting. Stir the soap slightly with a toothpick and quickly incorporate the pigment. Next heat the soap the second time to mix the mixture more thoroughly. The end result should look like clay. Pack the mixture into the container. Pat down so the surface is level. Cleaning up should be very easy, since the mixture is soap and can be easily washed away. To use, first bend the brush head of the mascara wand for a better reach. Wet the wand with a tiny bit of water and rub it against the cake. Apply like regular mascara and wash the wand clean after use.
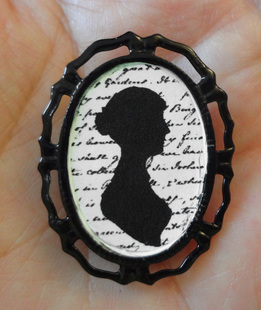
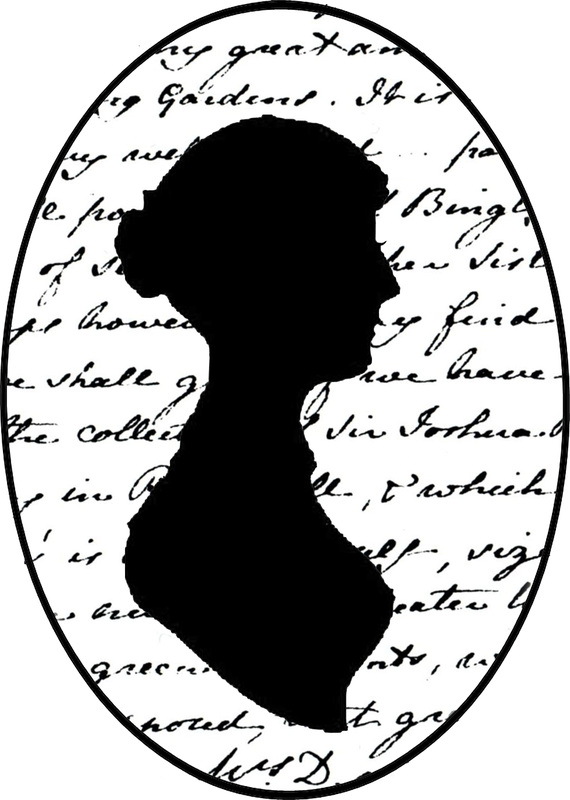
I still have some cameo settings leftover from earlier projects. Instead of casting more cameos, I used Jane Austen's silhouette with her writing as the background.
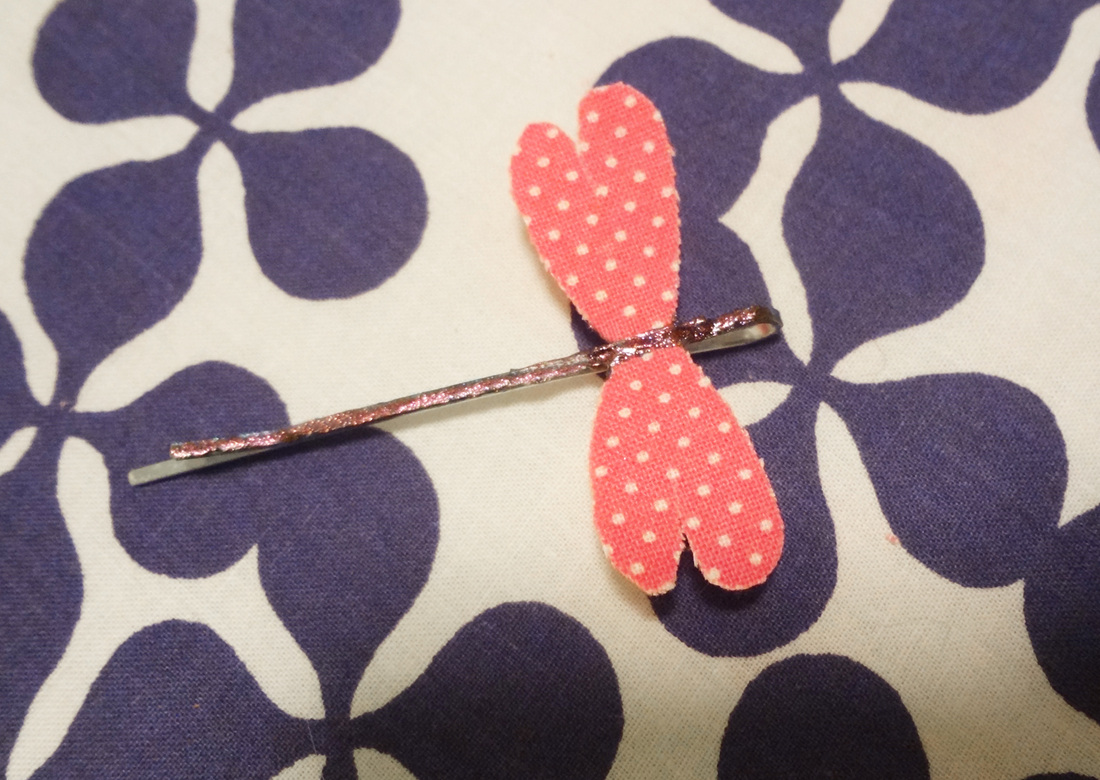
Here's the pattern if you want to make your own (go ahead and use it for anything you want, however please read about Creative Common licensing). Paint some bobby pins with nail polish. Use heat bound tape glue two pieces of fabric together back to back. Cut dragonfly wings out of the fabric and attach to the bobby pin.
It all started with Lynnderella. If you haven't heard about it already, read all about it here. Some of her nail polish was sold on eBay for hundreds of dollars (sources say one went up for well over $800). I mean come on, you shouldn't pay $800 for a bottle of nail polish on eBay unless the glitters grouped themselves into a portrait of Virgin Mary.
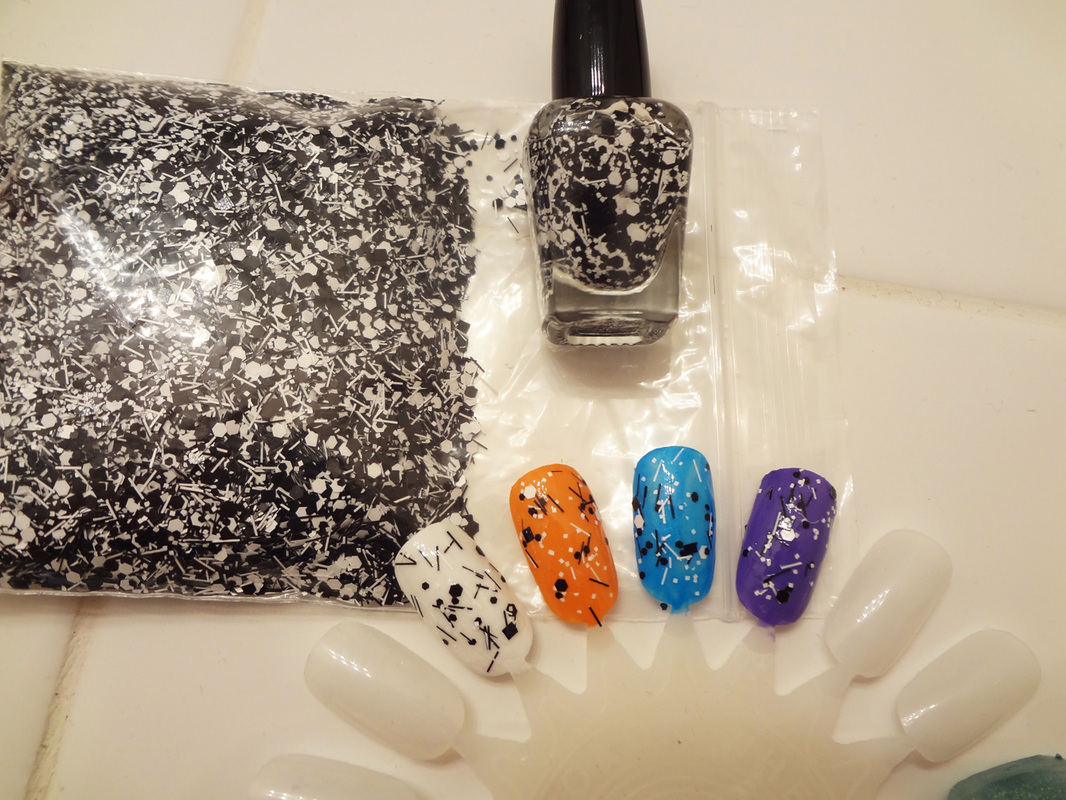
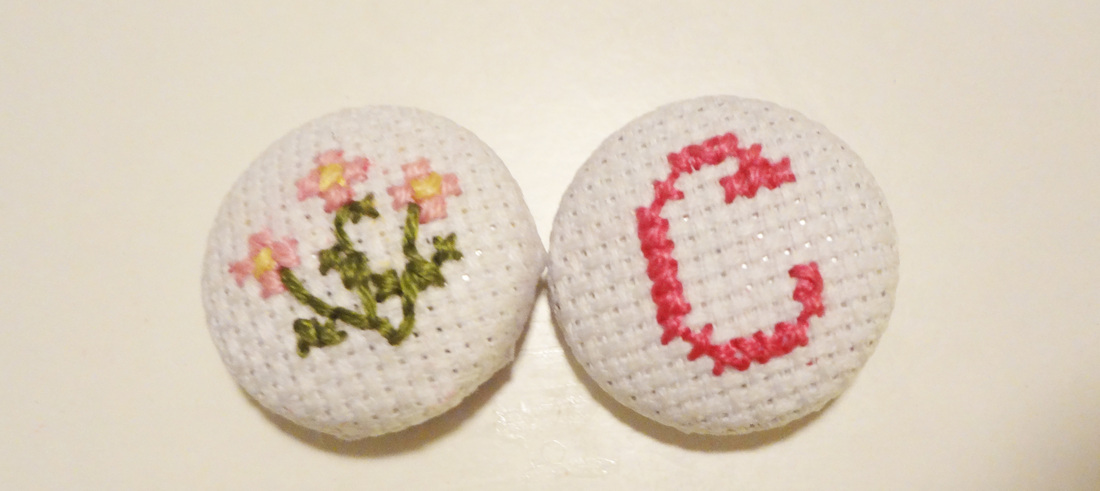
I used Sally Girl clear nail polish as a base, since it's cheap and the bottle is tiny and I don't want to waste a big bottle of expensive top coat for an experiment. For the glitter I used Black Hex 0.062, Black Hex 0.040, Black Fiber, Black Square 0.062, White Hex 0.062, White Hex 0.040, and White Fiber. I got all the glitters from TKB Trading. First cover your work surface with a plastic bag, the glitters are very hard to clean up if you spill any. Make a funnel to pour your glitters by rolling a 4''x4'' (about 10cmx10cm) piece of paper into a cone (leave a hole small enough to fit the opening of the nail polish bottle but big enough to let the glitters to flow at a good rate) and tape the edge. You will also need a bamboo skewer or other thin stick to push the glitter into the bottle. First combine all the glitters in a sturdy ziploc bag. Pour a tiny bit of nail polish out if the bottle is full to make room for all the glitter. fit the funnel into the opening of the bottle and very carefully pour glitters in. You will need to push the glitters in with a stick. To ensure even coverage you will need to put a lot of glitters in (I used about 1 teaspoons of glitter for a tiny .18oz/15ml bottle). After pouring the glitters in you might want to wait a bit for all the glitters to settle and see how much more you will need to pour in. The end result should have enough glitter in it that you don't need to shake the bottle for the brush to reach the glitters. Maybe it's because I bought the cheaper fabric covered button kit, but I had a really hard time getting the button shank to stay on (you can see the edge of the button on the left is uneven). I'm not very patient when it comes to making things, so most complicated cross stitch patterns are out of question for me. Buttons are the perfect size for me...
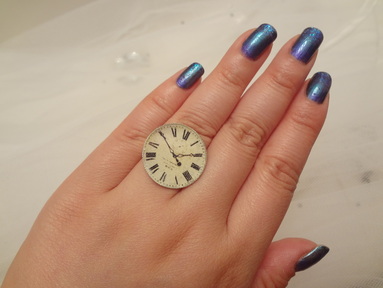
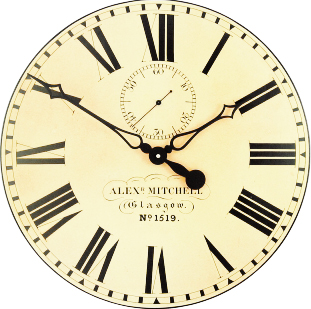
I ordered some ring blanks along with glass cabochons that should fit in the ring blanks. Unfortunately I ran into some issues with the supplier and the cabochons never got to me. I decided to use epoxy instead. Below is the pattern for the clock face if you want to make your own. Just shrink it down to the correct size and cut it out.
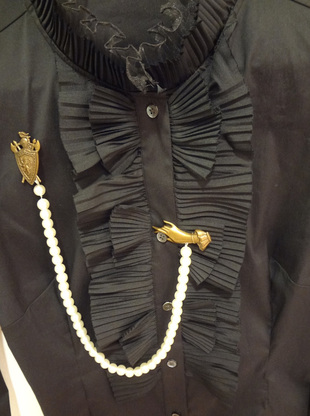
Some people might find it surprising, but I actually really hate wearing necklaces despite the numbers of necklaces I make. I just hate the feeling of something hard constantly on the nape of my neck. Short and heavy necklaces such as heavy pearl strands are especially problematic for me. I decided to put each end of the necklace on a brooch and pin the two brooches to my lapel. This way nothing will touch the back of my neck.
|
Loading
Archives
January 2016
|

 RSS Feed
