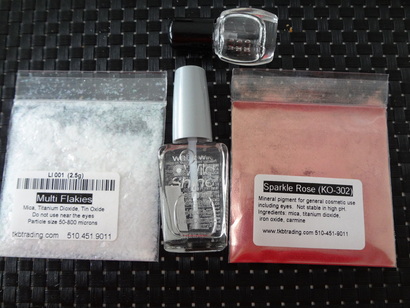
 I bought most of the ingredients from TKB Trading, their mica flakes are especially worthwhile to buy. I used a cheap clear top coat as the base as it is the cheapest option. You can use regular eyeshadow pigments for colors too, although the color might be less brilliant. Mixing other colored nail polish in is another option for colors. If you use glitters make sure the color coating will not dissolve in nail polish. You will also want to put in some steel beads for glitter or flakes in the nail polish to ensure they will mix evenly. Use a piece of stiff mylar rolled into a cone as a funnel to fill the mini bottles. 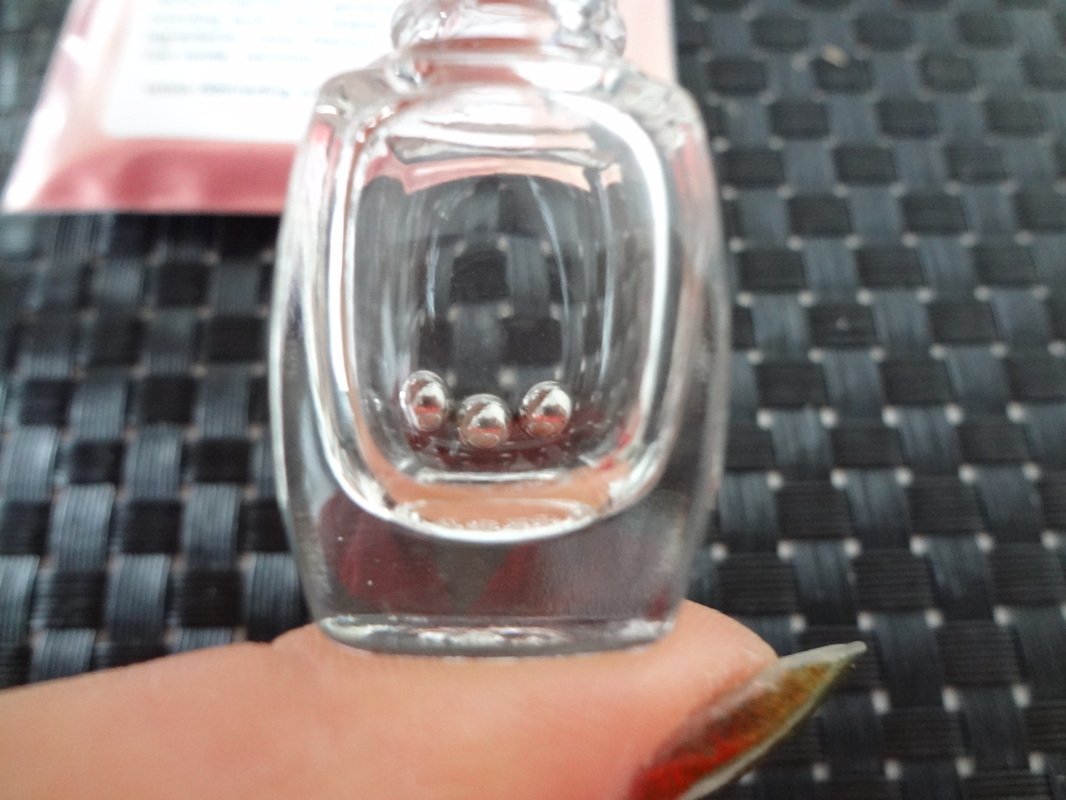 Put a few steel beads in the bottle first. 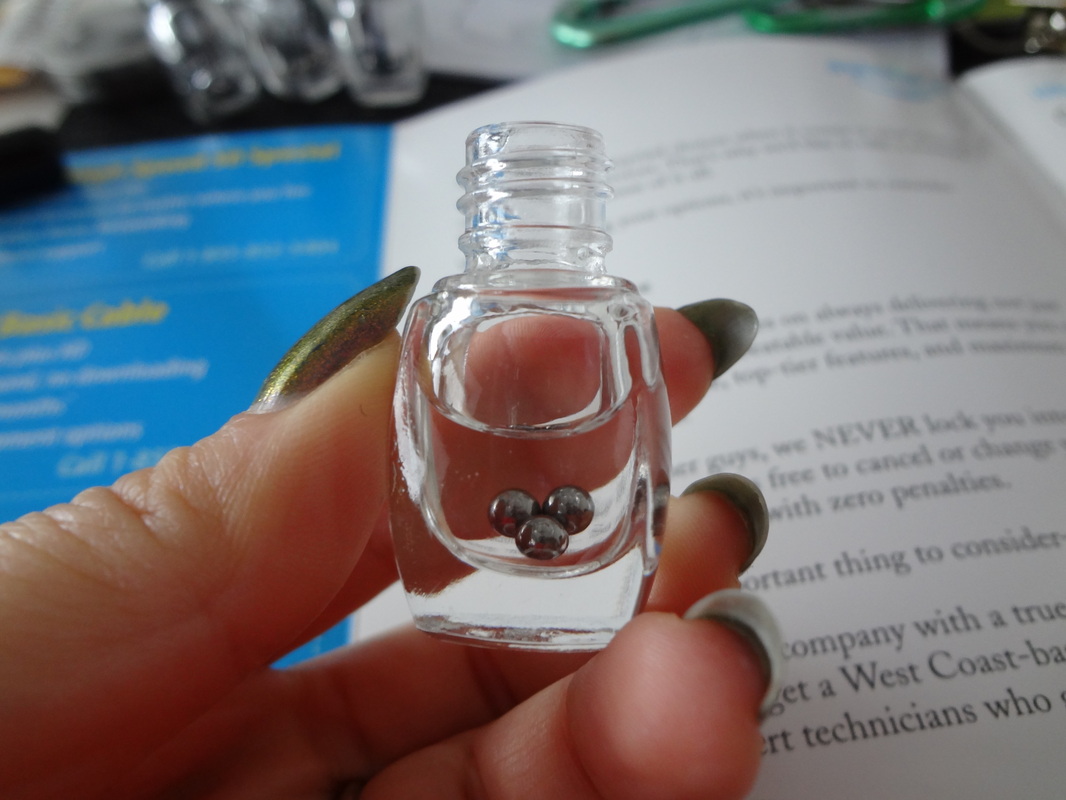 Fill the bottle 2/3 - 3/4 full with clear nail polish first, you do not need a funnel if you pour carefully. You need to leave space in the bottle to accommodate add-ins. You can always pour more clear nail polish in later if needed. 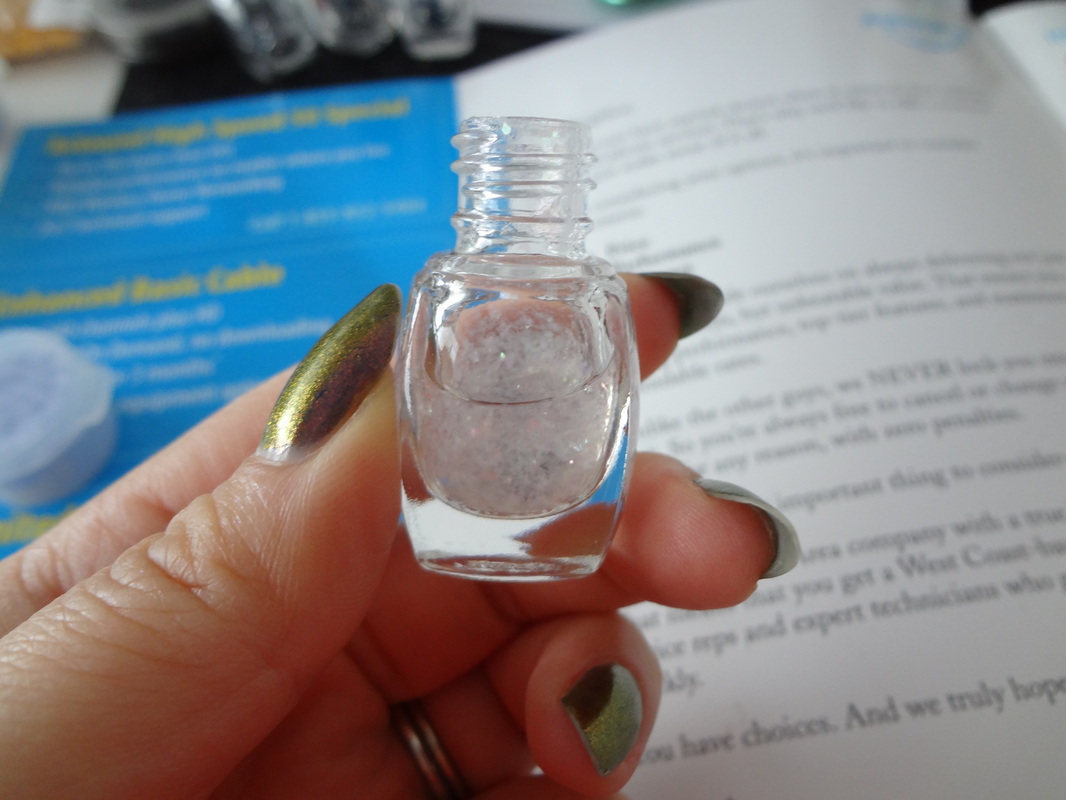 Next use a funnel to fill in the glitters, mica, and mica flakes. You will need a lot of glitters and flakes to make an even coverage of sparkles in every stroke. 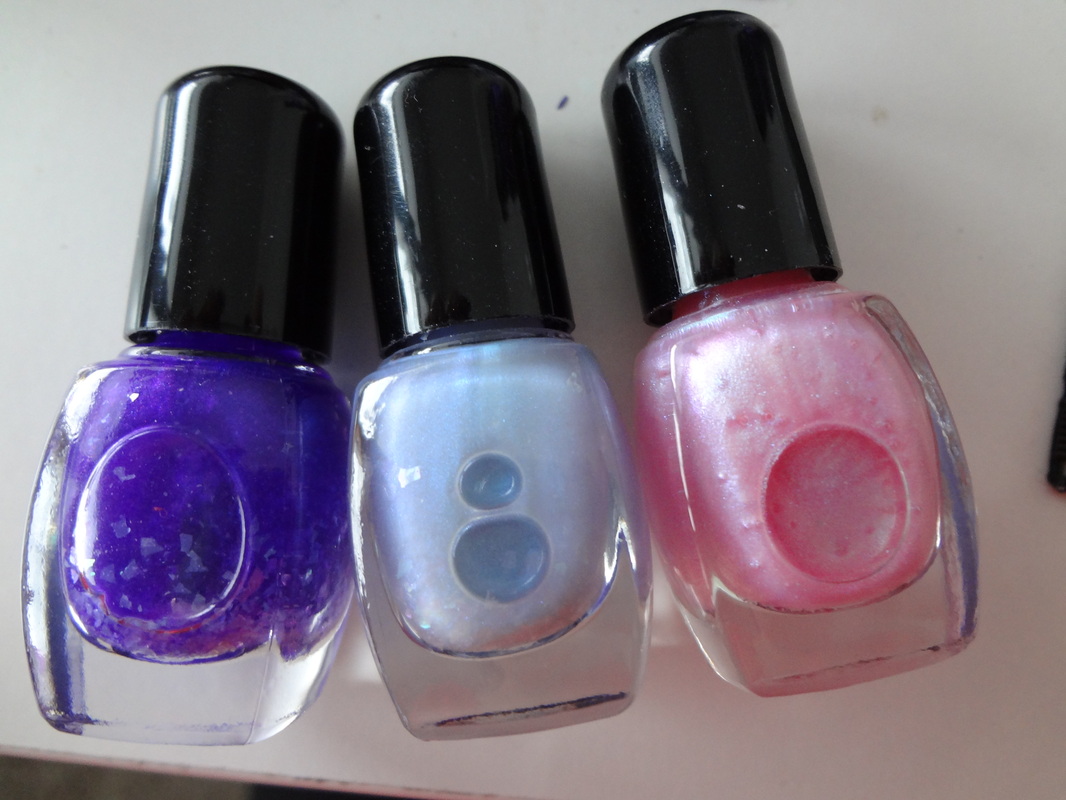 I made three colors. The left one is translucent purple with flakes, the middle is an iridescent blue with some flakes and iridescent glitters, and the right is an iridescent pink. 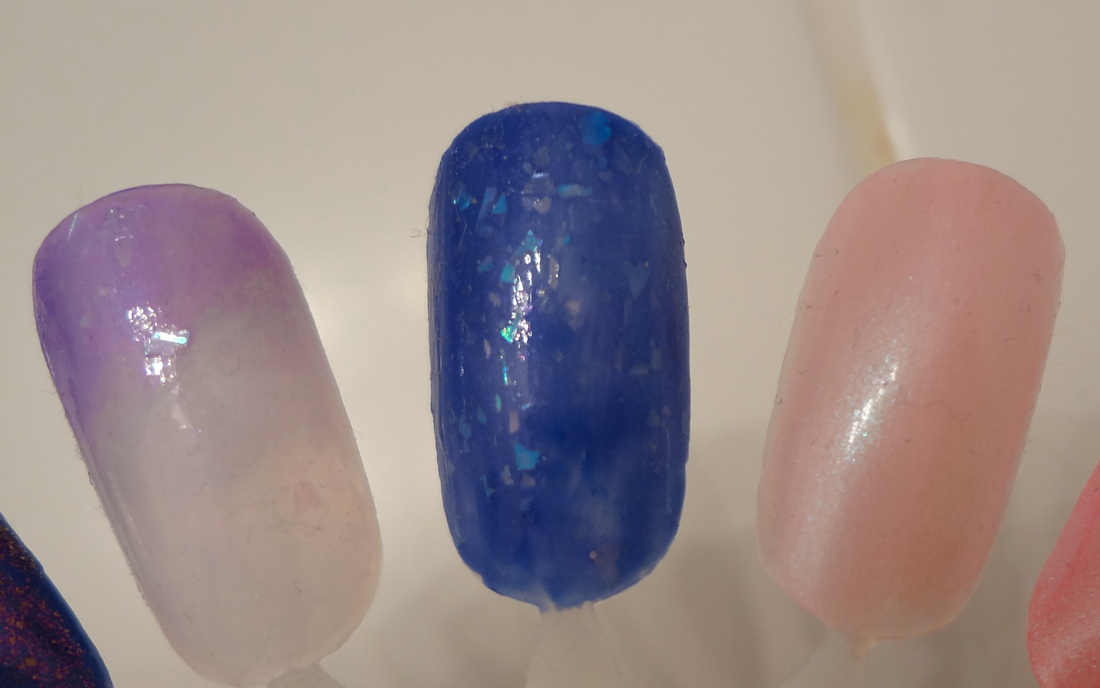 Here are the results (the middle one is painted on top of a blue nail polish).
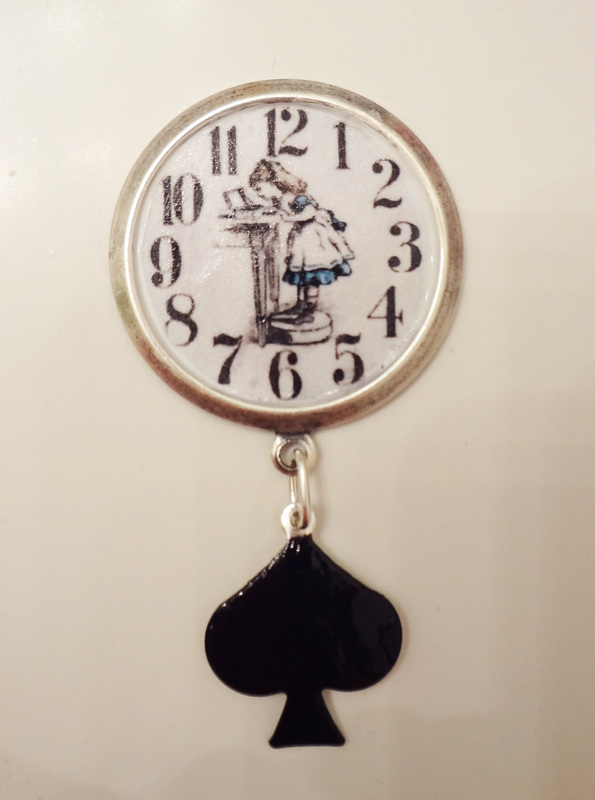
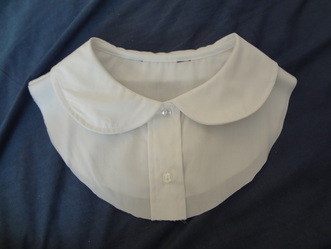
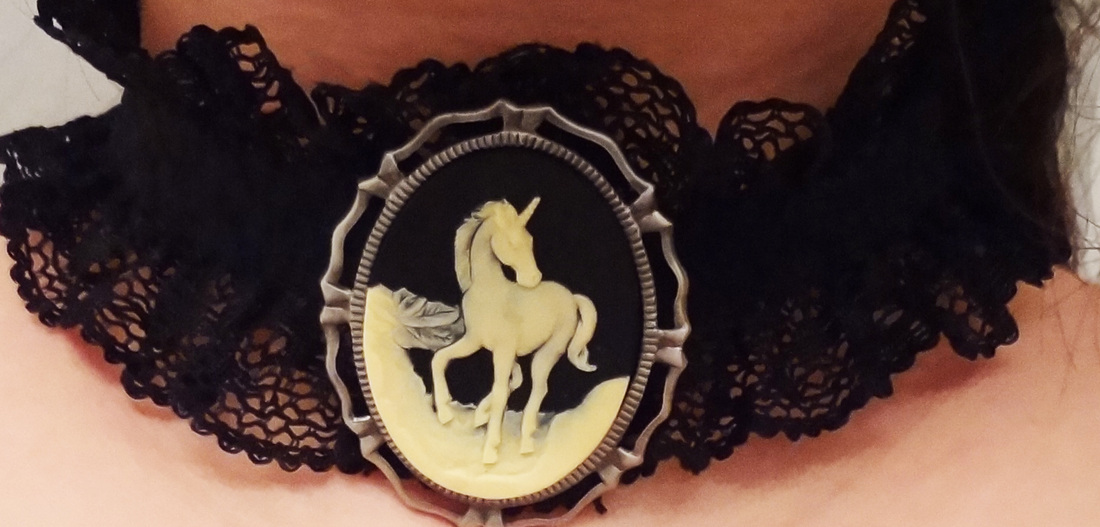
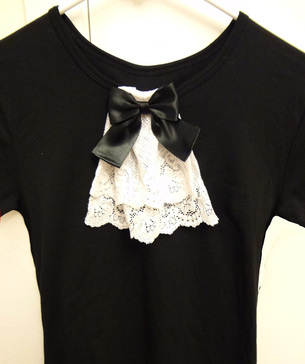
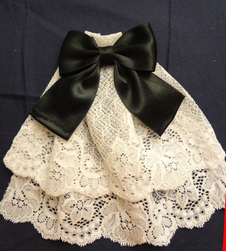
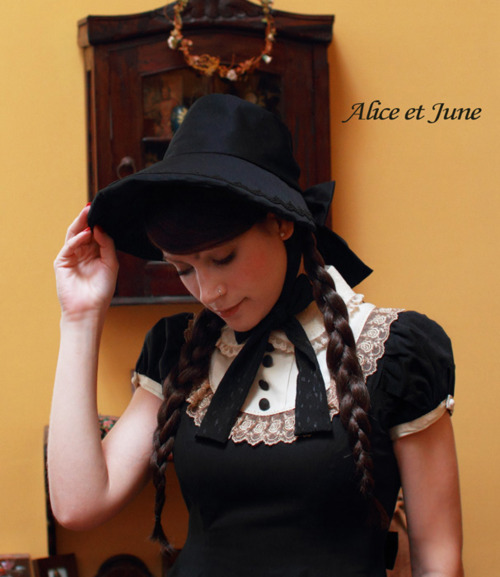 I'm a fan of this bib-collar blouse from Alice et June. I made a bib-collar from a uniform blouse that can be worn with either a white shirt or a contrasting shirt. Try look for Peter Pan collar shirt from thrift stores or ask your relatives if they have any outgrown uniform blouses. The fit doesn't matter as long as the collar is not too tight or loose on you. I would suggest Short Sleeve Peter Pan Blouse from French Toast since it's extremely cheap and the fabric is easy to care for. All you have to do is cut out the collar and trim the edge with trimmings. 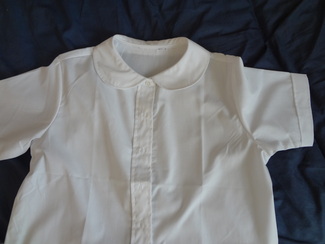
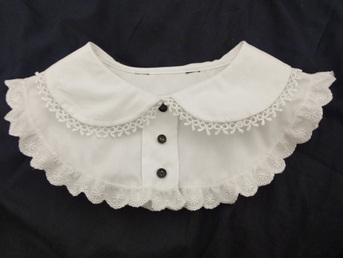
Note: I ended up cutting a lot more than the center photo prior to adding the trims. I don't have any black buttons on hand, so I used black nail polish to paint the buttons black. I also added an extra button in the middle.
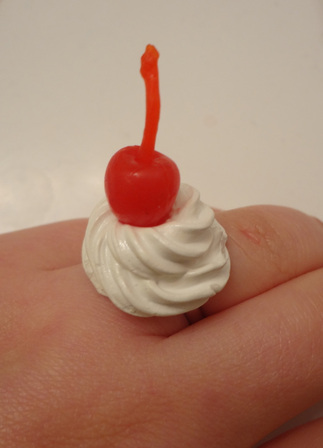
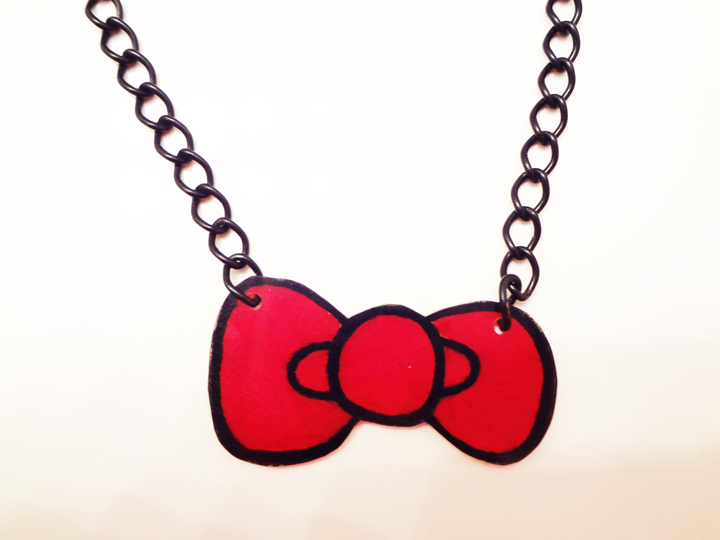
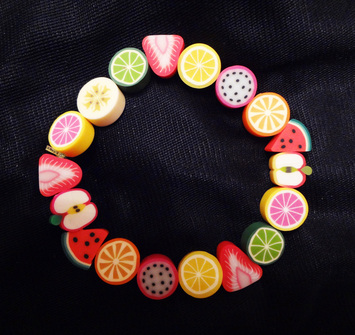
I really love the candy dot necklace from Onch Movement. I made one from Shrinky Dinks and polymer clay. 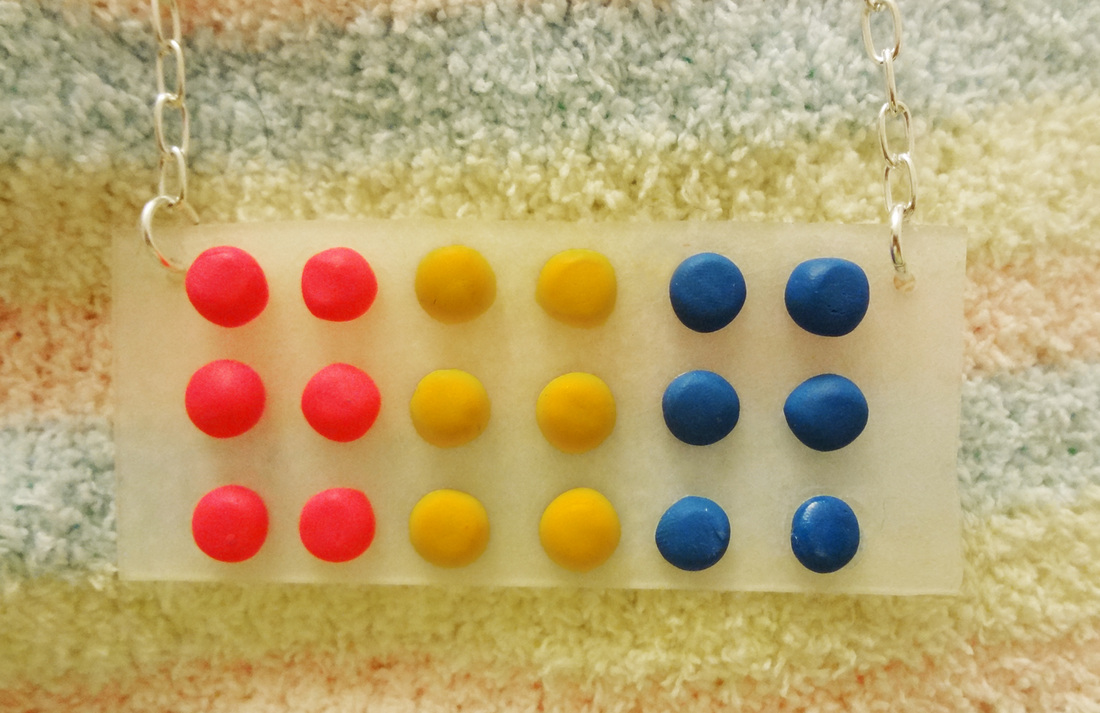
Here's an easy and inexpensive way to make a bonnet. Start with a cheap cloche hat. It can be made from felt, straw, fabric, woven, etc. All you needs is something with a relatively stiff and narrow brim. You will also need single fold bias tape (preferably 7/8 inch wide with a wider gap between the folds), ribbon for chin straps, and decorations. I used a stiff crocheted hat from Daiso Japan. 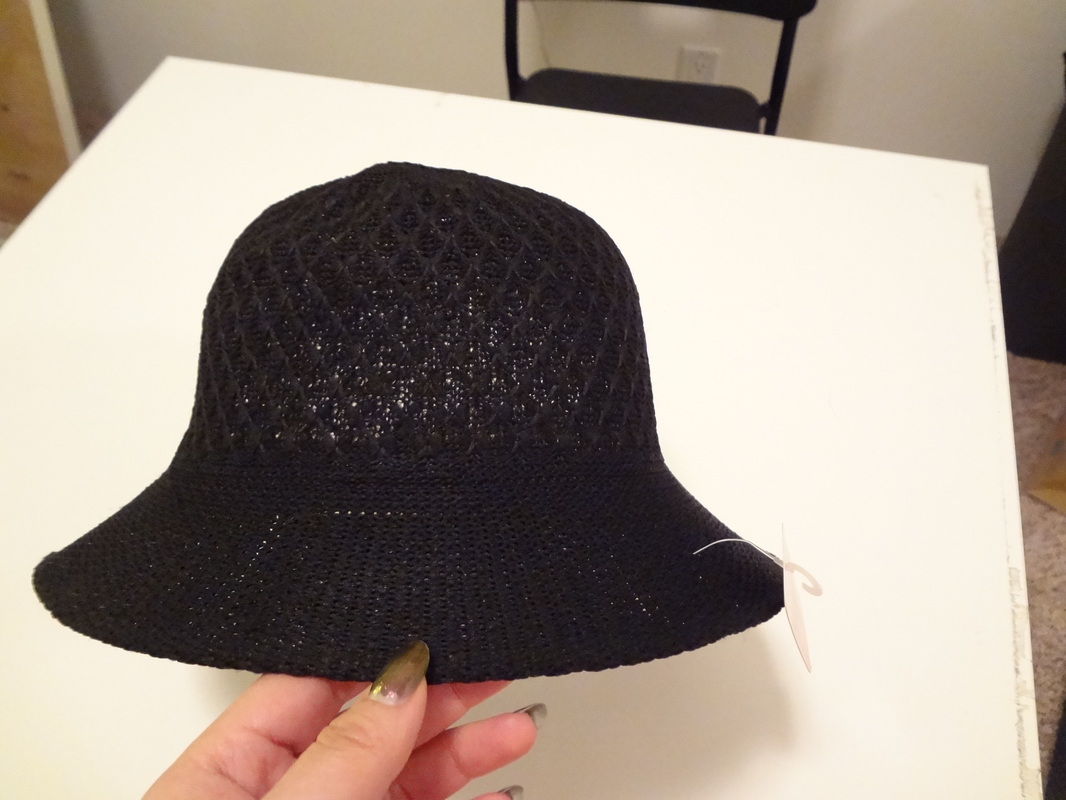 Next you will need to cut off 1/4-1/3 of the hat. Start with a slit that extends to almost the center of the hat. Don't cut too much off at once, you can always cut out more later if necessary. After you cut a portion out put it on your head like a bonnet and see if you need to cut out more. 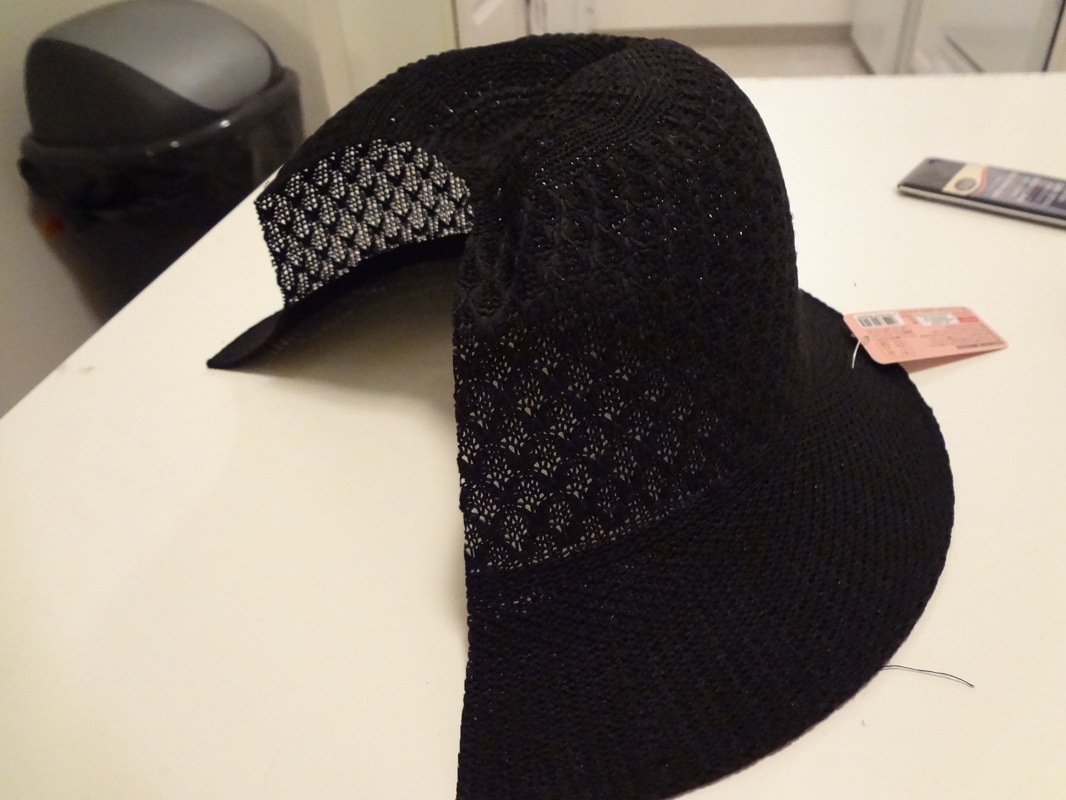 Next use bias tape to bind the unfinished edge you just cut. It's much easier to use a glue gun than sewing, as most hat-making materials are difficult to sew. Make sure you fold in the ends of the bias tape. 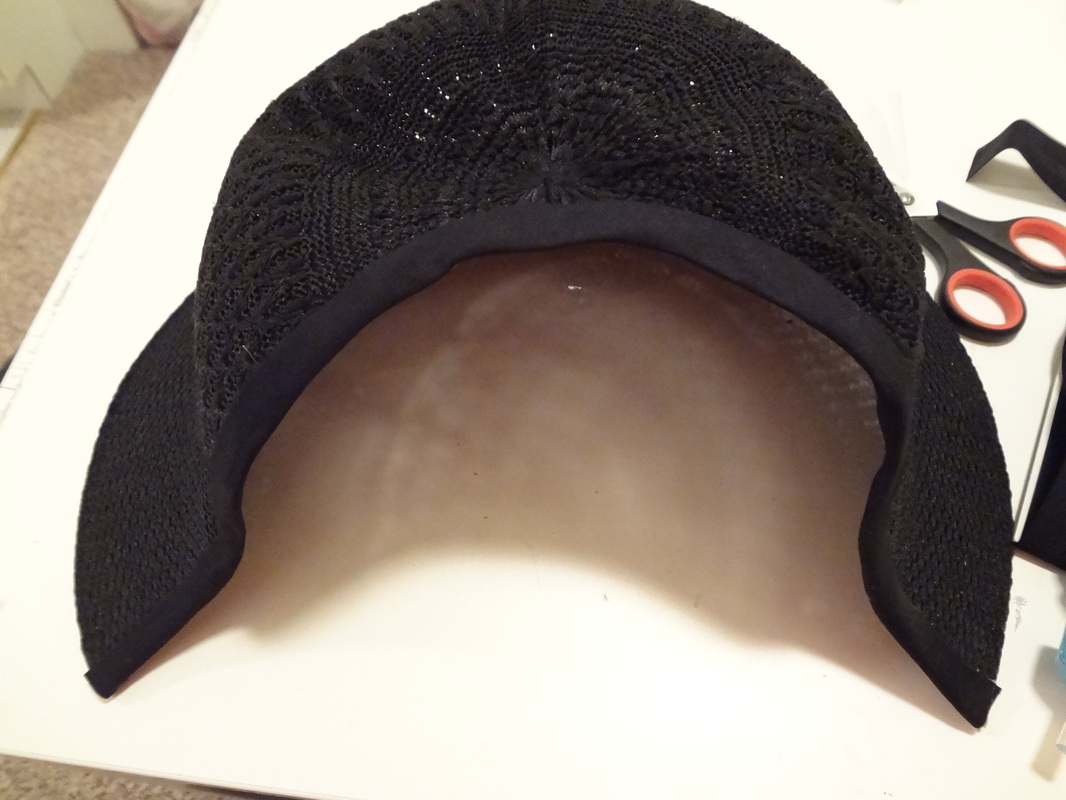 Finally, add chin straps to the pointy end of the brim and trim with any trimming you want. Most of my trimmings are in boxes right now, so I just decorated with a wide ribbon. I will add more trimmings when I get a change to unbox all my stuff. 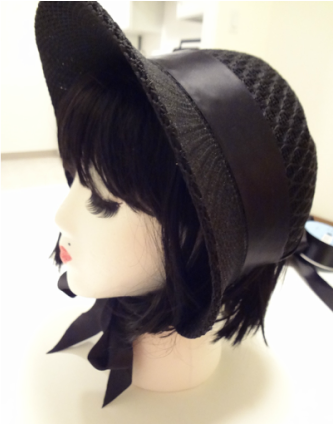 |
Loading

Archives
January 2016
|

 RSS Feed
